前篇の続きです。それでは、新しい機能の「ライナー」を使ってみましょう。
革へのプレスをする時は、活字を長持ちさせるためにも、失敗なく綺麗に印字するためにも、ハンドプレスに取り付けてプレスしましょう。
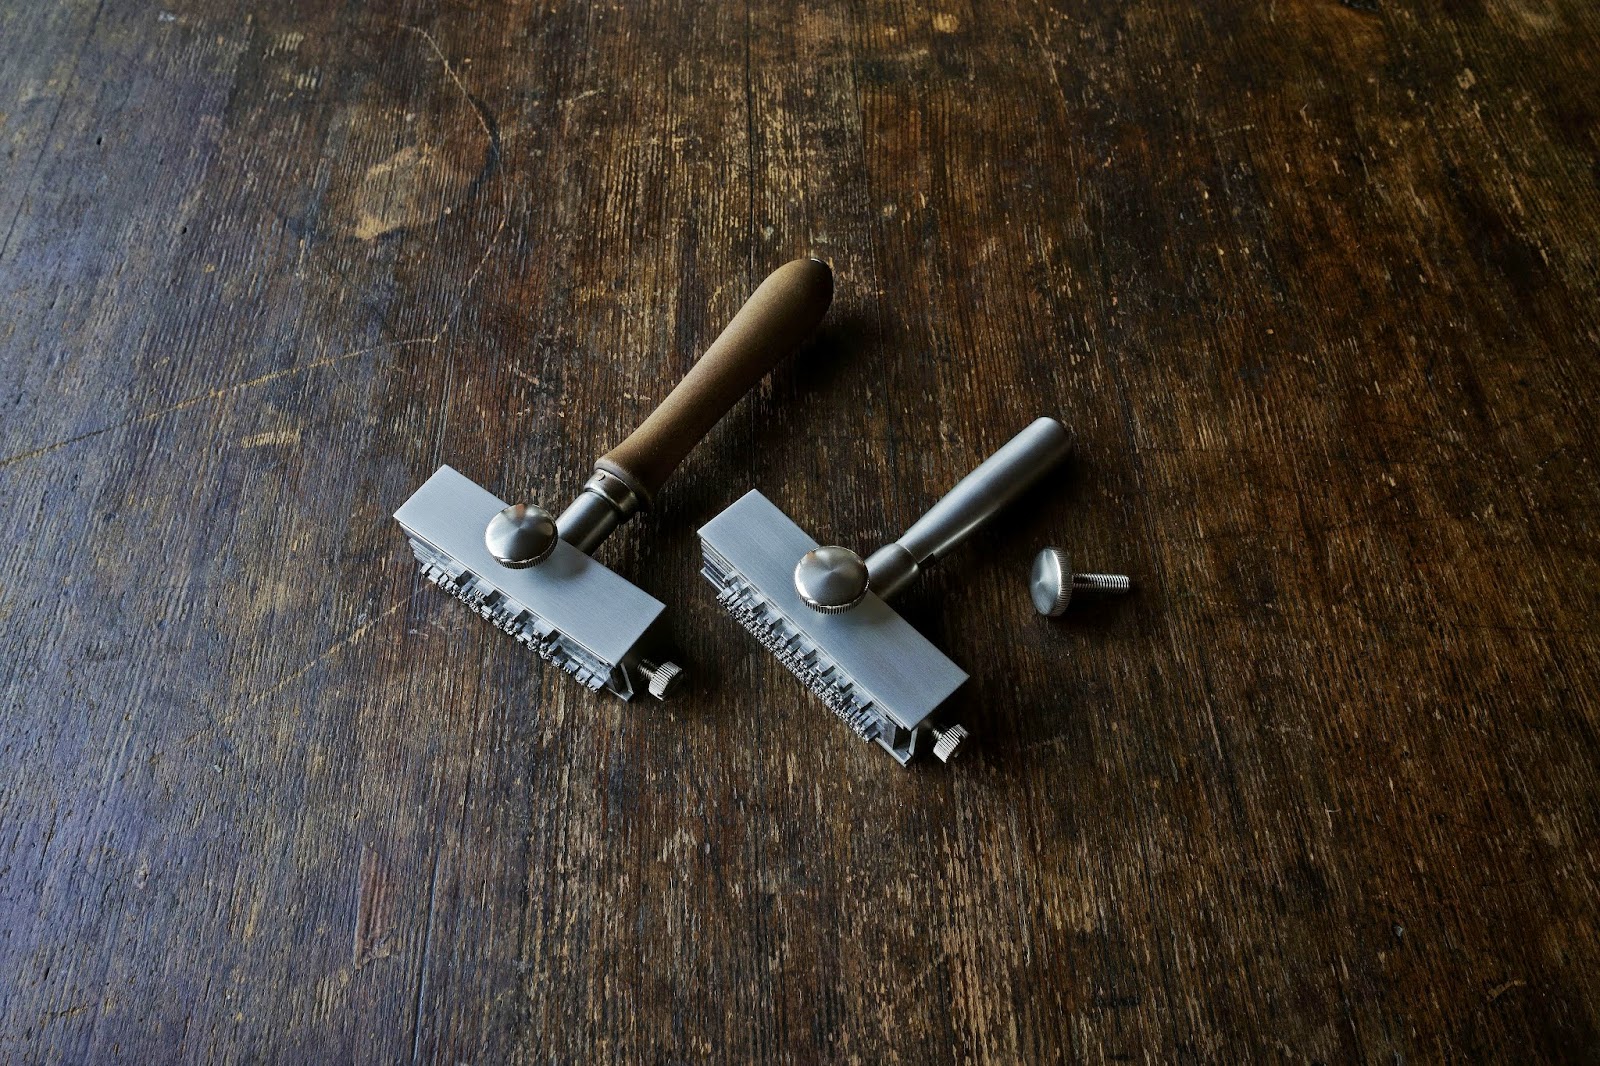
力をうまく伝達できるよう、このようにホルダーの中心近くへ活字をセットします。
レベルを2枚敷き、組版の下にライナーを入れます。
It is how to use novel function and "Liner".
Let's install the holder in the hand press machine to finish it up beautifully without the failure to make the type last long and press it.
To transmit the power of the hand press machine well, the type is set at the center of the holder like this.
It is how to use novel function and "Liner".
Let's install the holder in the hand press machine to finish it up beautifully without the failure to make the type last long and press it.
To transmit the power of the hand press machine well, the type is set at the center of the holder like this.

作業する革に細いマスキングテープをアンダーラインとして貼ります。
そのテープのラインに、ライナーの先端を合わせます。
Please paste the masking tape to leather as an underline.
The point of "Liner" is matched to the underline.

写真は革の上に置いているだけですが、ハンドプレスに装着した時は宙に浮くので、革への位置確認がしやすくなり、とても便利です。
After the other side is made similar, it presses it.
The holder in the photograph was only put on leather.If the holder is installed in the hand pressmachine, it becomes easy to see the pressed position, and is more convenient.
After the other side is made similar, it presses it.
The holder in the photograph was only put on leather.If the holder is installed in the hand pressmachine, it becomes easy to see the pressed position, and is more convenient.

マスキングテープをそっとはがして完成です。
テープの糊で制作物の表面を剥がさないように気を付けましょう。
The masking tape is quietly peeled off.
Take care not to peel off the surface of the production thing by the tape's sticking.
The masking tape is quietly peeled off.
Take care not to peel off the surface of the production thing by the tape's sticking.

少量の水で革を湿らすと綺麗に印字できます。
活版印刷用活字は、金属の中ではとても柔らかい鉛やスズで出来ています。
少々の出費で安心して仕事できます。
木槌等での打刻は、使いふるし摩耗した活字でやりましょう。
その時も革を水で湿らすと綺麗に印字できます。
When leather is dampened by water a little, it is possible to print it beautifully.
The type for letter Press is made of lead and tin of a soft metal.
We will strongly recommend the purchase of the hand press machine to everybody who is doing the leathercraft. It is possible to print it beautifully if the holder is installed in the hand press machine and it uses it. And, the type lasts long, and it does not fail. (I am handling a used machine of HOKUSOU. )
It is possible to work at ease because of a little expense.
Let's clock on with the wood hammer etc. when the type is worn out and it becomes not good.

最後にModerne-2の一番よくなった点と下敷きのことを。
活字の下部があたる、ホルダーの底面はとても重要です。
2種類の専用刃物を製作して、高精度な底研削加工をしています。
これによって、沢山の組版でも活字の細やかな美しさを印字できるようになりました。
Finally, it explains a part where Moderne-2 was improved most and recommended underay.
The highly accurate bottom grinding is done with two kinds of special cutleries.
As a result, even if a lot of typesetting was done, it came to be able to print beauty with a detailed type.
I think that I will construct this processing to Moderne&Antik of many people who have supported it up to now later.

名刺紙に手押ししたものの、拡大写真です。
小さな字の細部まではっきりと印字できています。
カード類には両手でしっかり押すと、とても良好です。
It is the one that the stamp was done to the business card paper.
It is very excellent when slowly stamping it on cards by both hands.
紙 Card YAMAZAKURA Half air cotton.
活字 Type TSUKIJI KATSUJI
上段 メヂウムゴチック 5号
中段 センチュリーオールド 9ポイント
下段2行 センチュリーオールド 8ポイント
Upper line Medium gothic 10.5 pt
Line at center Century old 9 pt
Two lower lines Century old 8pt
名刺紙など、少し硬い紙に美しい印字をするには下敷きが重要です。
まず、しっかりとした平面を得るため、カッテイングマットを敷きます。
その上に、紙と活字のなじみを良くするため、厚さ1mmのなめし革を敷いています。(1mmがベストです。)
Underlay is important to do a beautiful print to hard paper such as cards.
First of all, to make it to the plane, the cutting mat is paved.
And, the leather of 1mm in thickness is put on the cutting mat. In underlay to paper, leather is the best. "The thickness 1mm is the best. "

紙質によって、レザーの柔軟性を変えましょう。
お勧めはタンニン革、「とても柔らかい」、と「柔らかい」、ものを2種類使います。
Let's change the softness of leather according to the kind of paper.
Tannde leather "Very soft" and "soft" are recommended.

ベストな革の柔らかさをお伝えしようと思い撮影しました。
黄色の革が「とても柔らかい」、緑色の革が「柔らかい」です。
この自然に垂れ下がった曲がり具合を参考にしてください。
意外と裏側のバックスキンも使いやすかったりします。
これらは、皮革材料店や、東急ハンズなどで適度なものが手に入ります。
Yellow leather is "very soft", and green leather is the "soft".
Please refer to this curved condition that hangs down naturally.
Buckskin in the back is also suitable for the print.
Let's buy the moderate one in the leather material shop and the D.I.Y shop.

薄い紙や封筒などは、「とても柔らかい」方のレザーを使い、片手で簡単に印字できます。
インクは油性のスタンプ台をお使いください。
また、掃除は布で拭き取るだけで大丈夫です。
最もこだわるなら、活版インクを使用すると、微細な滲みのない素晴らしい仕上がりになります。
活版インクの使い方はまた次回に。
箔押しの仕方等も控えていますが、とても簡単にできます。
これもまた次回ご案内致します。
●発表から沢山のご注文を頂き、感謝しております。
価格ページや、新しいラインナップなど、まだすべてを投稿しきれていませんが、
お時間のある方は是非、築地活字やお取扱店へ行かれてみてください。
どのお店も素敵な方々ですし、良い時間となることでしょう。
Leather in "very soft" is the best for thin paper and the envelope.
Print it by one hand very easily.
The type is a metal. Ink uses the inkpad of oily.
It and the cleaning become beautiful only by wiping off with the cloth.
When the highest print is hoped, a wonderful print where ink is not blurred can be done by using the printing ink.
I will talk about it later.
The above is an outline of Moderne-2.
After announcing Moderne-2, we wish sincerely to express our gratitude for a lot of orders.
●Please E-mail the order. However, please come to retailers by all means when you come to Japan. Because they are kind people, it becomes time that may be happy.
&Thank you for deciphering my poor English.
Sincerely yours,
Gaku Hirota